Mt. Eden Computer Essentials & Applications I Classes
 Google Slides YOYO: PART 2 Habits
Haven't done part 1? Click here... Part 1
In the Habits Google Slides file:
- Select the title slide and in a new Text Box enter the missing title information.
- Set the theme to Focus.
- Set only the title slide Background to gradient theme color: the blue gradient in the first row.
- Set all of the content slide titles to Lato>Black, 36pts and the theme Orange color.
HINT: make the settings in the Theme builder: Title and body (Used by 13 slides).
- Set all slides to the Cube slide transition set to a speed of 0.7 seconds.
- Go to slide 2.
 Put your cursor in the bulleted list.
- In the Format menu under Bullets & numbering go to List options and select More bullets.
- In the Insert Special characters dialog from the pulldown menu at the end, select Stars/Asterisks.
- Select GLOWING STAR: the third from the end of all of the characters.
- Click on the X in the upper right corner of the Insert Special characters dialog.
- Select the last two items in the list and Increase their indent. See Figure 1. --->
- Delete slides 4, 5 and 6.
- Move slide 3 inbetween the new slides 5 and 6.
- In the File menu select Import slides.
- In the Import slides dialog select the Eat Food presentation.
- Select slides 3, 4 and 5.
- Uncheck Keep original theme and click on the Import slides button.
- Go to slide 5.
- In the Slide menu select Skip slide.
- Go to slide 6.
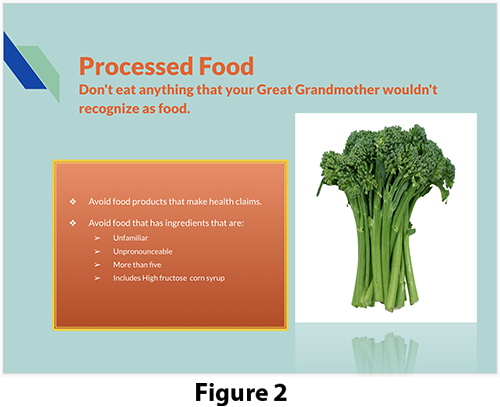
- Select the text box containing the bulleted list. Fill it with the top row orange theme gradient color and put an 8pt yellow theme color border around it.
- In the Format menu under Borders & lines set the Border type to Thick-thiin.
- Set the Border decorations to Round join. See Figure 2-->
- Go to slide 10.
- In the Insert menu select Special characters.
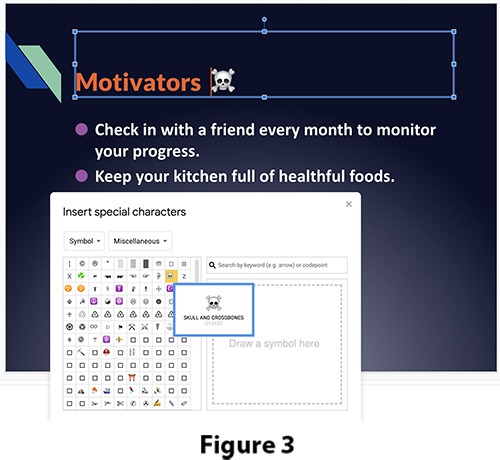 In the Insert Special characters dialog from the pulldown menu at the end, select Miscelanious.
- Select SKULL AND CROSSBONES: in the second row of characters.
See Figure 3-->
- Click on the X in the upper right corner of the Insert Special characters dialog.
- Done. SAVE YOUR DOCUMENT.
DONE...