Mt. Eden Computer Essentials & Applications I Classes
 PowerPoint YOYO: PART 1 Fundraiser
Click here for the file that you need:
Fundraiser.pptx
In the Fundraiser.pptx file:
- Select the title slide and enter the missing title information:
- Name of the speakers (your name)
- Date (with autoupdate)
- Place of the presentation:" Area 51, Edwards Air Force Base, NV "
- Presentation sponsor: either "Computer Essentials" or "Computer Applications 1." Add your period number.
- Save/download the PI_Outline.rtf file on your computer.
- Select slide 2.
- In the Insert menu select Insert>Slides From>Outline...
- In the Choose a File dialog find and select the PI_Outline.rtf file and click the Insert button.
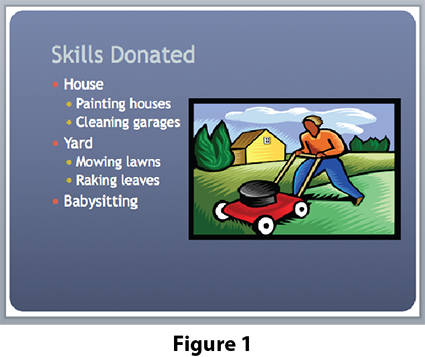
- In the new slide select the word "Yard" and on the Home tab of the ribbon click on the Decrease Indent
 button.
- Insert this picture Mowing.png and move and adjust it's size to fit to the right of the text. See Figure 1. ---->
- Select slide 4.
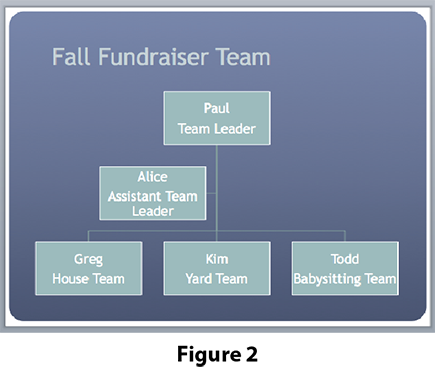
- On the Insert tab of the ribbon click on the Hierarchy
 button and select the Organization Chart.
- Fill in the team members as in Figure 2. ---->
- Set the Smart Art colors to Colored Fill – Accent 3 under the Change Color button on the Smart Art Design tab of the ribbon.
- Set the SmartArt Graphic Style to 3-D Powder.
- Select slide 5.
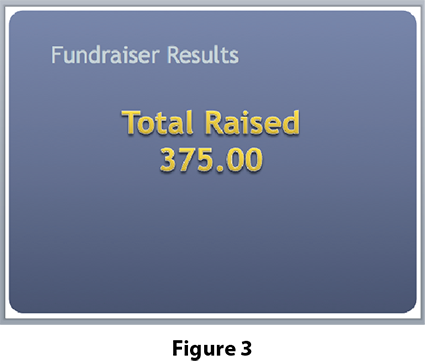
- On the Home tab of the ribbon click on the New Slide button and select the Title Only.
- Click on the title and type: "Fundraiser Results."
- On the Home tab, click on the Text button and select the WordArt.
- Type "Funds Raised" a return and "$375.00." See Figure 3. ---->
- Apply any Text Styles that you desire.
- In the Tools menu select Spelling...
- On slide 2 you should be guided to correct two words.
- In the File menu select Print. In the print dialog box under Layout: select "Handouts (6 per page)."
- Click Cancel (DO NOT ACCTUALY PRINT!).
- Done. SAVE YOUR DOCUMENT.
Go to PART 2..