Mt. Eden Computer Essentials & Applications I Classes
 PowerPoint YOYO: PART 1 Copyrights
Click here for the file that you need:
Copyrights.pptx
In the Copyrights.pptx file:
- Select slide 1.
- On the Home tab of the ribbon click on the Layout button and select Title Slide.
- On the Design tab of the ribbon select the theme Frame (hover your mouse over the theme icon to see it's name).
- On the title slide, in a new Text Box enter the missing title information:
- Name of the speakers (your name)
- Date (with autoupdate)
- Place of the presentation: "Mt.Eden High School,Hayward, CA."
- Presentation sponsor: either "Computer Essentials" or "Computer Applications 1." Add your period number.
- In the View tab select Slide Master.
- Select the (topmost) main master slide in the slide trray: Frame Master Slide: used by slide(s) 1-6.
- Set the Colors to Marquee.
- Set the Fonts to CenturyGothic-PalatinoLynotype.
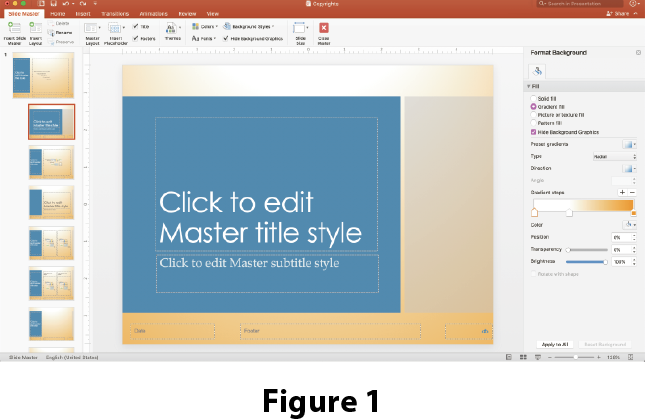
- Under Background Styles select Format Background...
- In the Format Background side panel set the backgound to be a Gradient Fill then under Preset gradients select Top Spotlight: Accent 3 (an orange gradient).
- Select the second master slide in the slide trray: Title Slide Layout: used by slide(s) 1.
- Select "Click to Edit Master Subtitle Style" and in the Home tab change it's font size to 26pts. See Figure 1 -->
- In the Insert menu select Header & Footer.

- In the Header & Footer dialog box, on the Slide tab, check Date and time, select Update automatically and choose a date format of your liking.
- Check Footer and type "Copyrights" in the textbox.
- Check Slide number and Don't show on title slide. Start the slide numbering at 1. See Figure 2 -->
- Click the Apply to All button.
- Select the last master slide in the slide trray: Title and Text Layout: used by slide(s) 2-6.
- In the Format Background side panel set the backgound to be a Solid Color that is Green, Accent 2, Lighter 60%.
- In the Slide Master tab click on the Close Master button or in the View tab select Normal.
- Select the graphic on the title slide.
- On the Picture Format tab of the ribbon under Size check the box that links the Height and Width.
- Set the Height to 2 inches.
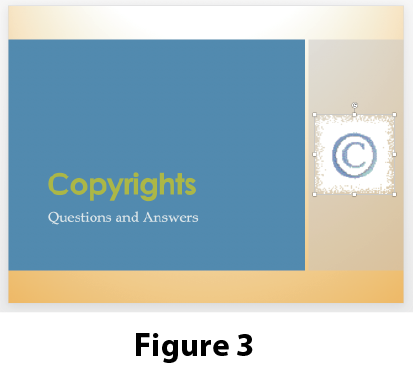
- Move the graphic into thelight brown box on the right side of the title slide, clickon the Align button
 andselect Align Middle. See Figure 3 -->
- You may want to move and adjust the font, color and size of title information that you added in step 4 to match the current theme look and feel.
- On the Transitions tab of the ribbon, choose the Wipe slide transition.
- Click on the Effect Options button and select From Top–Left
- For Duration choose medium speed which is 1.50 seconds.
- For Sound select any sound that you like.
- Check After and set the slide timing to 3.00 seconds.
- Uncheck On Mouse Click.
- Click on the Apply to All Slides button.
- Select the Title slide.
- Select the Slide Show button and sit through to the end reading each slide as you go.
- Done. SAVE YOUR DOCUMENT.
Go to PART 2...